public demonstration without download or serial
Dark Flow
Create narrated videos from scratch: transcribe the audio, write the scenes, generate the videos and deliver everything embedded in the narration. Fluxo Dark — ready-made narrated videos, from subject to final file Fluxo Dark writes the script,...
159public views
Textdescriptive presentation
2related areas
Did you like this tool?
Take this for a stronger offering: full access, combo with training or the master version with larger window.
Presentation
Video not available at this time.
The detailed description below remains public for the customer to understand the product.
Specifications
Compatibility
Windows 10/11. Recommended: Windows 11.
Last updated08/10/2026 18:49
Version/download
link updated on 10/08/2026
Public access typePresentation, video and description only. Download and serial remain protected.
Purchase Shortcut
This space welcomes those who have already seen the presentation and are ready to move on.
What This Tool Does
Create narrated videos from scratch: transcribe the audio, write the scenes, generate the videos and deliver everything embedded in the narration.
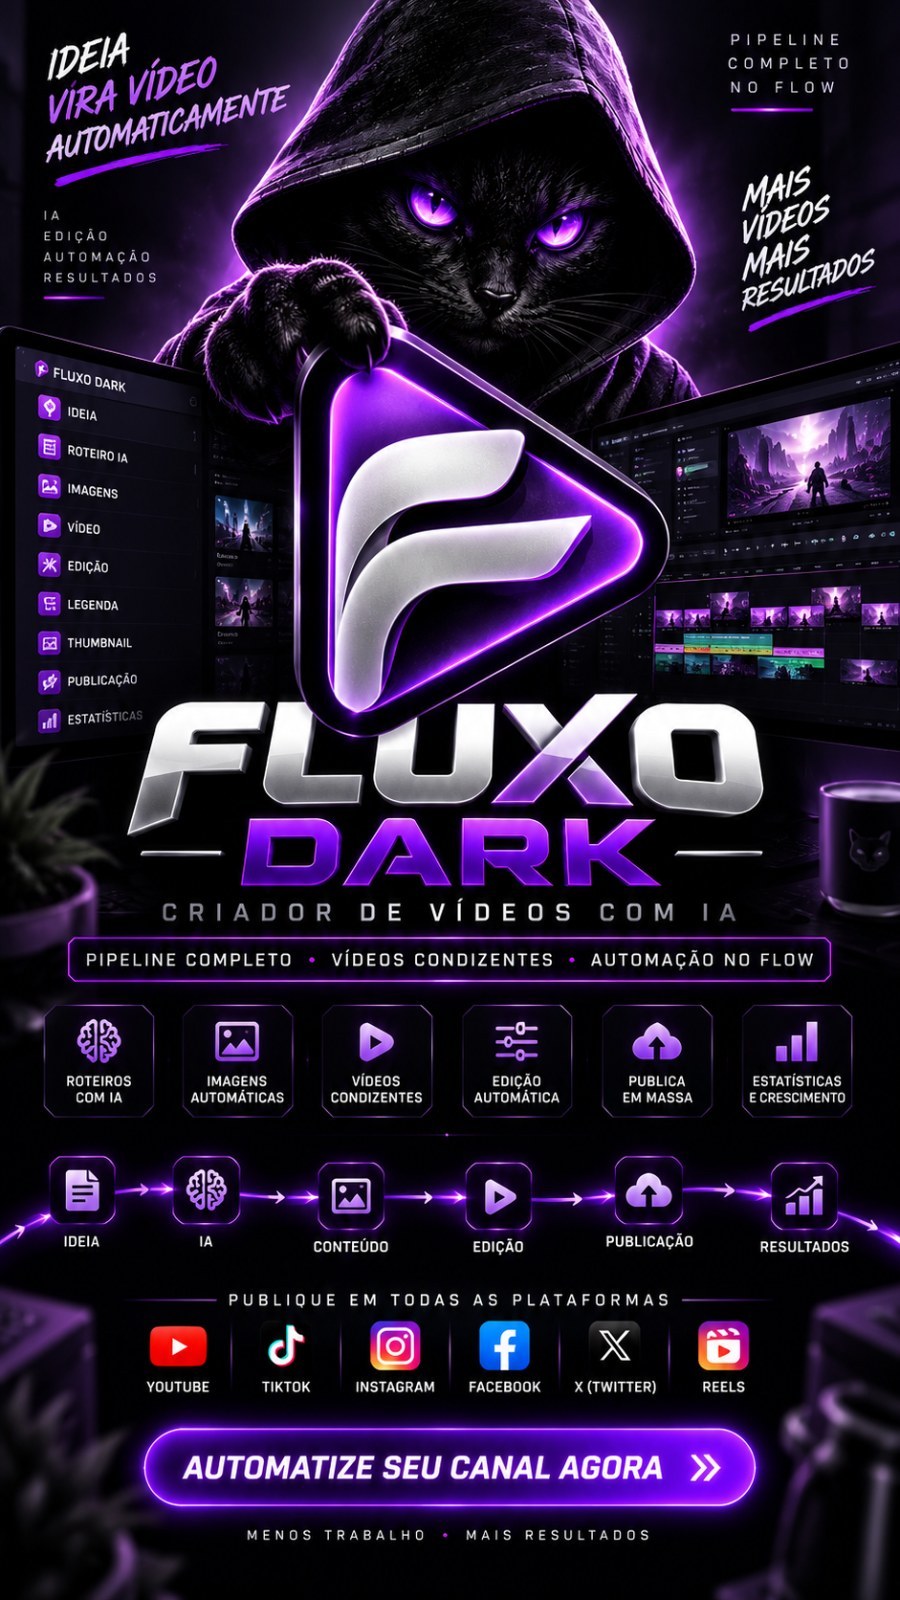
Dark Flow — ready-made narrated videos, from subject to final file
Fluxo Dark writes the script, narrates, transcribes the narration, cuts the speech into excerpts, creates a video for each excerpt using AI generators and fits everything into the exact timing of the voice. In the end, you receive the video ready to publish — or the project assembled to open in CapCut. Program for Windows: download, extract the entire folder and click on the icon. You don't need to install anything else.
Before you start
- Windows 10 or 11.
- Google Chrome installed (the program uses the browser to log into your accounts).
- Active Internet. Your account is checked every time the program opens.
- A Google Flow account (this is where the videos are generated, with credits from your own account). You can also use Meta AI, which is free, or just stock photos and videos.
- You log in with the same email and password you use on the website. No keys are entered within the program.
Two ways to use: Easy mode and Advanced mode
The program opens on Easy mode: one screen, four fields and one button. If you want to touch every detail, call Advanced mode in the footer of the left menu — there the fine adjustment screens appear (project, scene by scene, subtitle by file, media folders). You can come and go whenever you want; nothing is lost.
Easy mode step by step
- Open the program and enter your email and password.
- In Create video, write what the video is about (example: "the story of David and Goliath, in a suspenseful tone").
- Choose the visual style, approximate duration (3, 5, 8 or 12 minutes) and format: lying down, for YouTube, or standing up, for Shorts and Reels.
- Click Create the video. The bar at the top shows which step the program is at.
- When finished, click Open the folder to view the file. If you want to stop in the middle, click Stop: what has already been completed remains saved and can be continued later.
If something is missing to start — generator account disconnected, for example — the warning appears before from the beginning, not in the middle of production.
All screens and what each one solves
Create video
Complete automatic production: script, narration, subtitles, scenes, videos, insertion and final file. Suitable for those who want volume and don't want to decide anything. The list below shows your latest videos and where each one is.
Dashboard
All your projects in one list, with the status of each one and the space they occupy. This is where you create a new project, open an old one to continue where you left off or delete what is no longer useful. Nothing is deleted without confirmation.
Project
The project is ONE video, from audio to the final file, organized into four cards:
- Narration audio — send an audio you already have (mp3, wav, m4a) or let the program narrate your script with the chosen voice.
- Subtitles and excerpts — the speech is transcribed and cut into excerpts. The recommended size is 8 seconds, which is what the generators deliver. If you already have the caption ready, just paste it.
- Illustrated scenes — the program writes the scene for each excerpt and adds the chosen style. It works in batches, so you can track progress and can correct any scene before generating it.
- How this video is made — here are the video settings (generators, format, quality, subtitles, music). Everything is already filled with the best option.
There is also the Automatic production: choose how far the program should go alone (just the script, up to the narration, up to the scenes or up to the final video) and it runs the entire queue.
Quick editor
For those who already have the audio ready and a folder with photos or videos. The program cuts the speech, distributes your media in the chosen order, puts background music, subtitles and on-screen calls, and delivers the video. You don't spend any generator credits — it's assembly using your own material.
Scenes by SRT
Send or paste a ready-made subtitle (the one that CapCut exports, for example) and receive the scenes written for each excerpt, without having to create a project. Useful when the video already exists and you just want the image descriptions.
Channels
Channel is the pre-configuration of your videos: language, style, voice, generators and format are recorded in it. Create the channel once and create videos every day with one click. Inside the channel you have:
- Autopilot — turned on, the program creates the videos for that channel on its own, every day, at the time you choose, in the quantity you define. If you want, you can schedule each video on the YouTube.
- Model by a reference channel — paste the link to a YouTube channel (or a video of it). The program reads titles, previews and transcripts of the most viewed and learns the style. The ideas and scripts come out in this spirit, without copying anything.
- Video ideas — the program suggests topics based on the modeled channel, your own topic or current topics. Each idea becomes a video with one click.
Scenes and videos
The list of all the video excerpts, one by one: the text of the speech, the written scene, the generated video and a button to watch. You can rewrite a scene, generate just that part again, exchange it for your own media or download the isolated clip. It's the screen for those who want fine control without reshooting the entire video.
Delivery
Here the program fits each clip at the exact time of the speech and assembles the final file. You choose what you want to receive: the finished video, the media organized to open in CapCut, or both. If the video is still queued on the YouTube, the progress appears on this screen.
Publish
Send the finished video to your networks, through your own accounts, in the browser window — the program never types your password. Works with Bilibili TV, Facebook e Instagram; The YouTube has its publication on the Delivery screen, because it has scheduling. The path is always the same: register the account, click on Connect and enter the window, click on "Read my pages" so the program knows where you can publish, choose the destinations and place them in the queue. The queue shows what is waiting, what has already been published and what was wrong, with a button to try again.
Accounts
Where everything connects, and where you check if you're really connected. Each card shows the real bill, checked instantly — never a guessed "connected" one:
- Google Flow — the account that generates the videos, with its credits. The program shows the email, balance and models that that plan offers, with the price in credits for each duration. You can have multiple accounts and choose which one to use.
- Meta AI (vibes) — optional and free of charge. Each account delivers a few videos per day, so three accounts are recommended: when one reaches the limit, the program continues on the next.
- YouTube — the account you publish. After logging in, click on "Read channels" so the program knows the channels for that account.
- Image bank — stock photos and videos for when you don't want to spend generator credit.
- cloned voices — send a clean audio of about 30 seconds with your voice and narrate any script with it. You need the cloning package, which comes with the program and is downloaded once.
Music
Collection of songs released for monetized video. Listen, choose and download: it goes into your library and can be used in any project. The music volume lowers on its own when the narration speaks, so the voice never disappears.
My media
Point folders on your computer so the program can use your photos and videos alongside (or instead of) what the AI generates. You decide the order in which they enter: in the sequence of the folder or randomly, each section taking a different piece.
Activity
The program's diary: what he's doing now, the space the projects take up on the computer and the YouTube queue. It's the first screen to look at when something seems stuck.
What can you adjust (everything on the screen, no files)
- Video generators — mark as many as you want. In "Revezar", each excerpt comes from a different generator and the video is varied; in "Use the first", the others only enter if the first fails. Pattern: take turns.
- Video template and duration — the list comes from your account, with the price in credits for each duration. In the "Automatic, due to the length of the passage" duration, the program always asks for the shortest option that covers the speech, which is the cheapest. Recommended pattern.
- Scene mode — image and then animate (recommended), video directly from the text, or just an image with smooth movement.
- Final file quality — 1080p (recommended), 2K or 4K. In 4K the files are much larger.
- Video format — lying down for YouTube or standing up for Shorts, Reels and TikTok.
- What to deliver at the end — final video ready, media for CapCut, or both.
- Excerpts from the speech — the shortest and longest section that can come out, and the difference is that it’s not worth messing with. They are used to control the cutting rhythm.
- When video is left — cut the ends, the end or the beginning; and how much of the excess becomes acceleration instead of cutting.
- When it doesn't even fit — hold the last frame (recommended) or stop and let you know.
- Caption — turn it on or off, style, size in percentage and where it is on the screen.
- Voice — narration voice, tone, speed and language.
- Sound — volume of narration and background music, in percentage.
- Finish — transition between sections and its duration, frames per second and darkening the end of the video.
- Preferred image bank — Pexels first or Pixabay first.
- Camera movement — the program selects 20 movements so that the video does not remain still.
- Visual style — choose one of the ready-made styles or describe yours in your own way; the text you write dictates more than the chosen style.
- Interface language — Portuguese, English, Spanish, French, German and Japanese, by the flags in the upper right corner.
Required API Keys
Keys register on the website panel, never within the program. If you register or exchange a key with the program open, click Help > Reread my keys — or close and open the program. Depending on your plan, some of these keys are already provided by your account and you don't need to register anything.
- AssemblyAI (recommended) — transcribes the narration and generates subtitles with the timing of each word. Without it, you need to paste a ready-made caption. Register on the panel — video tutorial
- OpenAI (optional) — writes scripts, scenes, titles and ideas. Register on the panel — video tutorial
- OpenRouter (optional) — alternative for writing, when you prefer another model. Register on the panel — video tutorial
- Groq (optional) — another alternative for writing, very quickly. Register on the panel — no video
- Pexels (optional) — stock photos and videos, to save generator credit. Register on the panel — video tutorial
- Pixabay (optional) — second collection source, used when the first does not have what you requested. Register on the panel — video tutorial
Google Flow account, Meta account, YouTube account and social media account are not key: you enter them normally, in the browser window that the program opens.
Requirements and limits
- Videos are generated with credits from your own account in Google Flow. The program shows the balance and how much each route will cost before spending.
- Each generator has a duration limit per clip (typically 8 seconds). That's why the speech is cut into sections — and that's why it's worth leaving the duration in automatic mode, which always asks for the shortest option that covers the section.
- Meta AI is free, but delivers only a few videos per day per account. With three accounts connected, the program takes turns on its own.
- The generators reject scenes with people described in detail (exact age, eye color, skin tone, close-up of the face). The program rewrites these descriptions itself before sending.
- 8 minute video takes up a lot of space while it is being made. The Activity screen shows how much each project is using and allows you to clear what has already been delivered.
- Leave the computer on during production. If it hibernates, the program picks up where it left off when it comes back.
If something goes wrong
- "Sign in to your Google Flow account" — go to Accounts, click Connect and log in in the window that opens. When finished, the screen will show your email and balance.
- The template list appears empty — Google's session won. Click Check on the Accounts screen: the program renews itself and the list returns with prices.
- "I stopped at your request" — is the message when you click Stop. Nothing was lost: what was already ready remains saved and production continues where it was.
- The caption doesn't come out alone — transcription key is missing. Register on the panel (link above) and click Help > Reread my keys. In the meantime, you can paste a ready-made caption.
- A scene did not generate — open Scenes and videos, rewrite that scene or select another generator and generate just that part. The rest of the video does not need to be redone.
- Publication stuck in queue — open Publish, check if the account is still logged in (click Check) and use "Try again" on the error item.
- Any other problem — click Download bug report at the top. The file is saved on your Desktop; send it to support.
How to close the program
Fluxo Dark works in a browser tab, but the program that is open on your computer does the work. To actually close, click End program, at the top of the screen, and confirm. Just closing the flap also turns off the program in a few seconds. The icon next to the clock shows that it is open and also allows you to close it.
Updates
When a new version comes out, a banner appears within the program itself with a download button. Update does not turn off nothing: your projects, connected accounts, voices, music and settings remain where they are.
Want The Complete Ecosystem?
After reading the details, many people prefer to guarantee greater access rather than deciding tool by tool.
Other Tools to Show Along